Materials List: Charcoal Drawing
If you want to get started drawing with charcoal, or you're taking any class with me where we will be using charcoal, here is everything you will need! I include brand recommendations for anything where I feel the brand is important and makes a significant difference with the results, and affiliate links may be included.
Need some help learning how to use these materials?
Take my FREE 5 Day Drawing Transformation Challenge! I'll send you a 30 minute lesson each day and walk you through all the steps of creating a charcoal drawing.
Want a list you can print and bring to the store?
Downloadable PDF: Graphite and Charcoal Drawing Materials This PDF is the materials list for Foundations of Drawing and does include graphite, but it's a convenient download none-the-less.
OK, let's get to it!
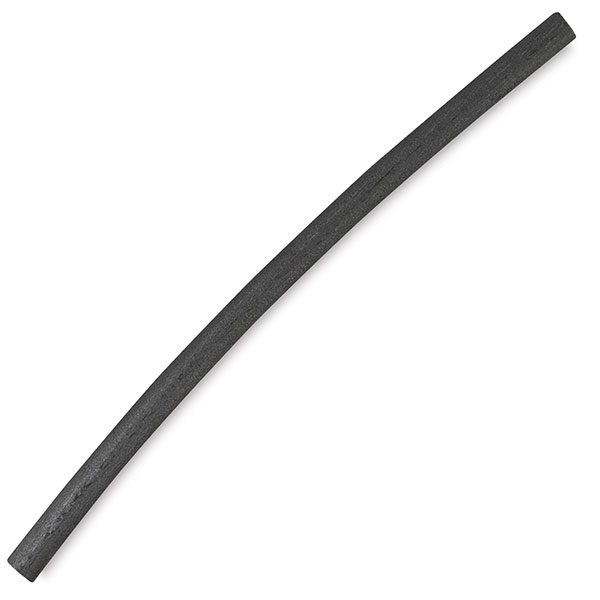
Vine or Willow Charcoal

For the most part, any brand or variety of vine or willow charcoal works well for me. I like to start drawings with this material because it is easily erasable compared to compressed charcoal. However, it also wipes away easily, which is why I prefer to finish with compressed.
This type of charcoal is usually a round stick, can be sharpened with sandpaper, and for our purposes should be on the thin-side or well sharpened.

If you're an experienced artist or just enjoy using the best of the best, I recommend you pick up some Nitram vine charcoal. I prefer the H, HB, and B varieties (as opposed to their soft charcoal) as they sharpen to a nice point, and I mostly use them without the holder.
Compressed Charcoal

This type of charcoal is dark and velvety, and is typically in a uniform cylinder or square shaped stick. I have no brand preference but I suggest getting medium or soft compressed charcoal rather than a hard one.
Sanding Block
Inexpensive sanding pads can be found at most art supply stores, but sanding blocks from the hardware store will work just as well. These can be used to create a long taper on graphite lead, graphite sticks, or vine, willow, and compressed charcoal.
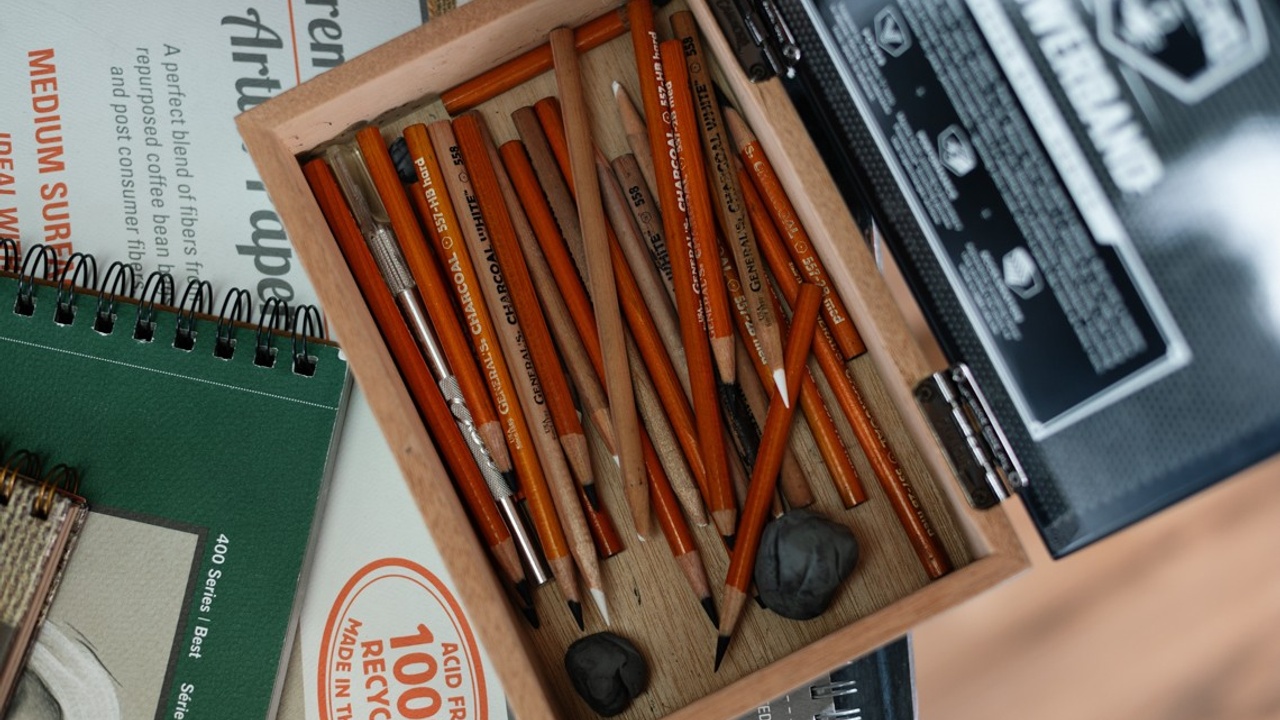
Charcoal Pencils

I strongly prefer General's charcoal pencils, because I have noticed other brands seem to become sticky with multiple layers while the General's charcoal remains workable. Get medium (2B) and hard (HB) but skip the soft and extra soft pencils as they are more difficult to sharpen without breakage.
White Charcoal

Again, I prefer General's brand white charcoal pencil to avoid stickiness.
Electric Pencil Sharpener

While this may seem excessive for someone just starting out, I personally feel it saves me an incredible amount of time and energy and therefore is a highly valuable item for me! With some sharpeners you need to find the right amount of pressure to sharpen a charcoal pencil, but once you figure it out you'll never be more than a few seconds from a perfect point. I like Afmat's long tapered sharpeners the best, and also have had numerous of X-Acto's blue classroom sharpeners and they work well, too.
Kneaded Eraser

Any brand, malleable gray eraser.
White Stick Eraser

Optional but so useful: Stick erasers that are 3.8mm - 4mm thick seem to be the ideal size. It's the right size that you can 'draw' into the charcoal and create hatch marks. Tombow's Mono Knock stick erasers are a good option, and I believe General's has a version as well.
Blending Tools
 Some useful tools for blending and smudging include large, fluffy paint brushes or make-up brushes, paper towels, chamois, and blending stumps. Avoid tortillions as the ridges tend to burnish materials into the paper. Instead, go for a soft blending stump, sometimes called a stomp.

This, above, is a tortillion. Leave this at the art store.

To the right is a blending stump or "stomp." Take this home with you!
Toned Papers
Just about any sturdy middle gray or tan paper will work. My favorite papers keep being discontinued, and I am currently on the hunt for a new favorite! Some options I definitely like are Canson Mi Tientes in Flannel Gray, Dark Gray, and Moonstone, and I prefer to use the 'wrong' side of the paper which has less texture. It's better to choose large sheets that can be cut down as needed rather than a paper that is too small.
Drawing Board

I recommend getting an 18" x 24" smooth sheet of masonite/hardboard along with some clips or masking tape, rather than purchasing a drawing board with permanently attached clips and a handle, which tend to get in the way of drawing.
Easel

While it can be a little weird to get used to at first, it’s incredibly helpful for many reasons to work at an easel. The one pictured at right is available across multiple brands and should cost around $40. It packs up small if you prefer to store it when not in use, is lightweight, and easily transported. I use these in my own studio as well.
Other Useful Items


T-square or triangles for right angles
Ruler
Paper towels
Masking or artist’s tape
String that is not stretchy for measuring
Wooden skewers or knitting needles for measuring or sighting
That's it! I know it can seem like a long list, but keep in mind most of these items are small and inexpensive, and others you may already have around the house. My aim was to be thorough and make sure you have absolutely everything you'll need to create fantastic drawings!
As materials change or are discontinued, or as I change my standard drawing materials line-up, I will update this list.
If you're ready to go in-depth and commit to learning how to draw realistically, Foundations of Drawing is the right course for you. Click the link to learn more.
Thanks and happy drawing!
~Lacey
Stay connected with news and updates!
Join our mailing list to receive the latest news and updates from our team.
Don't worry, your information will not be shared.
We hate SPAM. We will never sell your information, for any reason.


